
How to Securely Dispose of an Old Phone or Computer

An old phone or computer can hold years of photos, messages, documents, passwords, browser sessions, and account details. Deleting a few folders before selling or recycling it is not enough. It can also leave the device tied to your account, making it difficult or impossible for the next owner to use.
A safer handoff has a clear order: preserve the data you need, move authentication methods, disconnect accounts, remove physical storage, use the device's supported erase process, and verify the result. The exact menu names differ by manufacturer and operating system, but this sequence applies to most personal devices.
Do not start the reset until you can answer two questions: Is everything important backed up, and can you still sign in to your essential accounts without this device?
Decide Where the Device Is Going
The right disposal method depends on the device, its condition, and the sensitivity of its data.
A working personal laptop going to a family member usually needs a complete supported reset and a clean setup screen. A business computer that held customer, financial, legal, or health information may require an organization-approved sanitization process and a record of destruction. A broken phone that cannot be unlocked or erased should not be passed to an unknown buyer simply because it no longer turns on.
Choose the destination before wiping anything:
- Sell or give away: Prepare the device for another person to use.
- Trade in: Follow the trade-in provider's current preparation and shipping instructions.
- Recycle: Use a reputable electronics recycler that explains how it handles storage devices and batteries.
- Return to an employer: Follow the organization's process rather than erasing company equipment yourself.
If the device contains regulated or unusually sensitive information, ask the data owner or IT administrator what proof of sanitization is required. A normal consumer factory reset may not meet that standard.
Back Up What You Want to Keep
Make a fresh backup before changing accounts or starting an erase. Include documents, photos, videos, contacts, calendars, notes, browser bookmarks, local email archives, downloaded files, and any application data that does not sync automatically.
Do not assume a cloud icon means every file is safely stored elsewhere. Some services keep placeholder files locally, some applications use their own export process, and some folders may sit outside the normal sync location. If you need a more reliable plan, review these backup strategies that actually work.

Verify the backup from another device. Open a selection of important files, confirm recent photos are present, and check that encrypted archives can be unlocked. A backup that exists but cannot be read is not a successful backup.
Keep the old device unchanged until the replacement is working and the important data has been checked. Convenience is not worth discovering after a reset that an authenticator database, tax document, or family photo existed only on the old hardware.
Move Authentication and Recovery Methods
Phones and computers often do more than store files. They may approve sign-ins, hold passkeys, generate authentication codes, receive text messages, or act as trusted recovery devices.
Before erasing the device:
- Transfer or re-enroll authenticator accounts on the replacement device.
- Add a replacement passkey or security key where needed.
- Confirm your current phone number and recovery email address on important accounts.
- Save fresh recovery codes when a service provides them.
- Test the new sign-in method before removing the old one.
Store emergency credentials somewhere that does not depend on the device being erased. This guide to storing account recovery codes safely explains practical options.
Also review your password manager. Make sure its vault has synchronized, you know the account password, and you can complete any required second-factor challenge. If you are still relying on saved browser passwords scattered across devices, choosing a password manager can make future device changes easier.
Disconnect Accounts and Device Locks
Many devices include an anti-theft feature that links the hardware to an online account. That protection is useful while you own the device, but it can block a legitimate new owner after a reset if the device remains associated with you.
Use the manufacturer's current handoff instructions to sign out, disable device-finding features when required, and remove the device from your account. Check for operating system accounts, work or school management profiles, password manager access, media authorizations, cellular plans, and paired accessories.
Do not give a buyer your account password to get past an activation lock. If the reset leaves the device asking for your credentials, keep possession of it and correct the account removal before completing the handoff.
For a work-managed device, do not try to remove management controls yourself. The administrator may need to unenroll it from device management and document the return.
Remove SIM Cards, Memory Cards, and Accessories
Inspect the device for removable items before it leaves your hands. Phones and tablets may contain a physical SIM card or memory card. Computers may have SD cards, USB receivers, security keys, external drives, or discs in attached equipment.
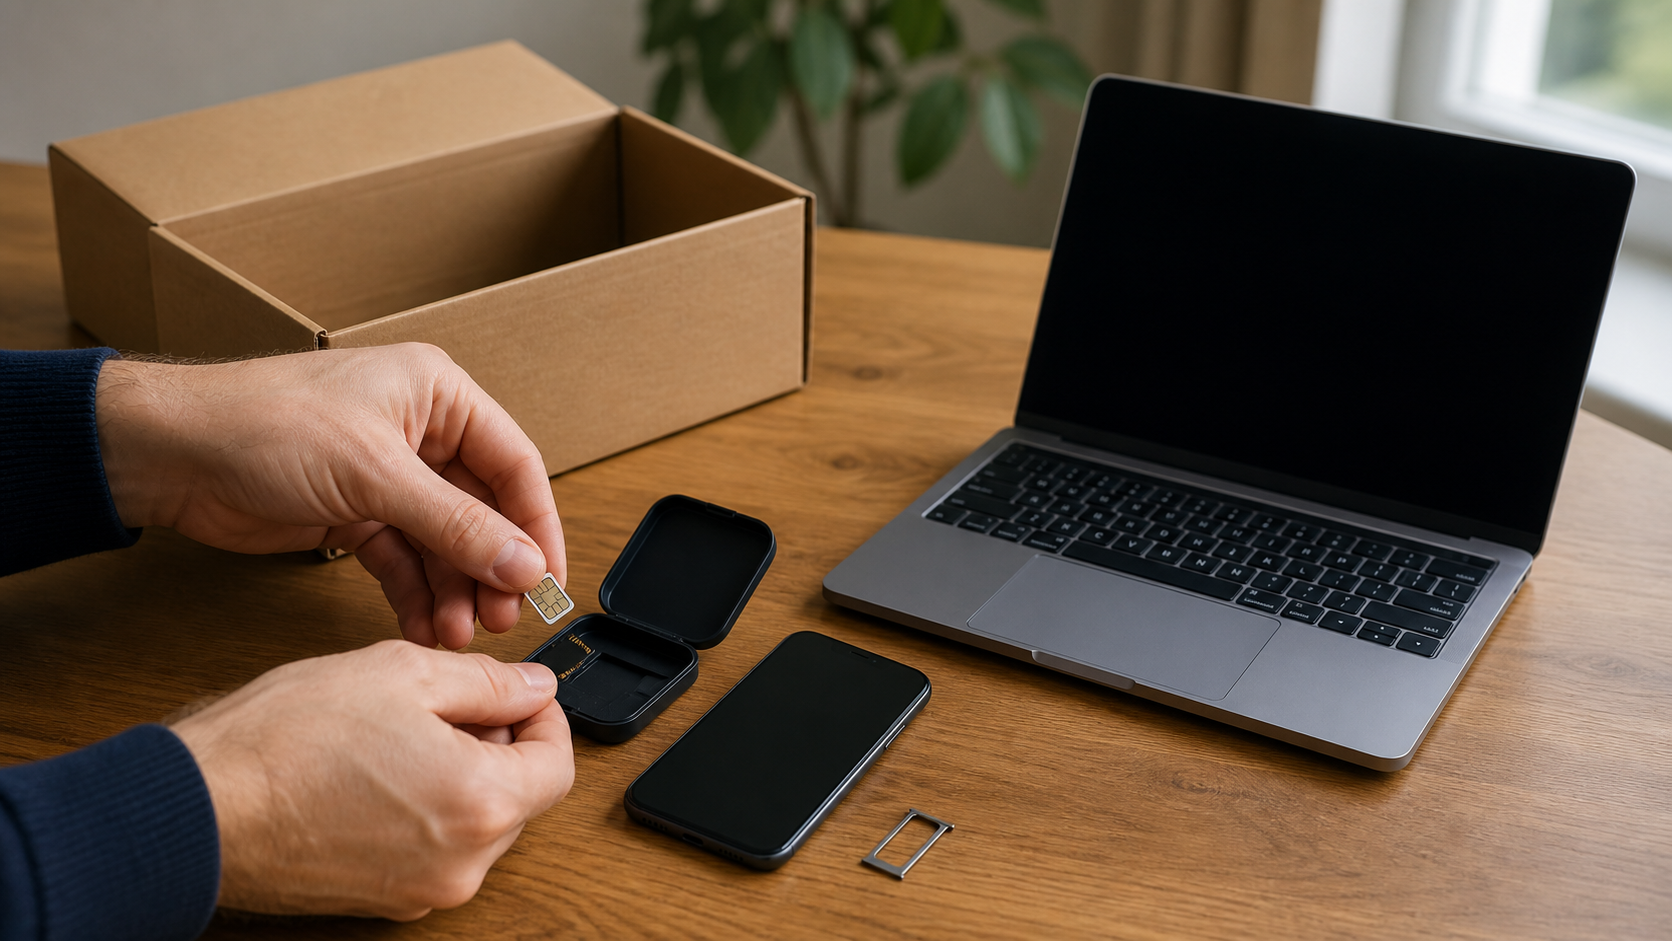
Remove anything you intend to keep. A factory reset normally targets internal storage, not a forgotten memory card. Transfer a cellular plan or eSIM according to the carrier's instructions, then confirm that the old device no longer has active service.
Check cases, docks, and bags too. Tiny storage cards and wireless receivers are easy to overlook. Keep a charger only if the buyer or recycler does not need it and the disposal instructions allow you to omit it.
Use the Supported Erase Process
Use the reset or erase feature built into the device's current operating system. Start from the normal settings interface when the manufacturer recommends it. This process is designed to remove user data, disconnect supported account protections, and return the device to a state suitable for setup.
Choose the option that removes all personal files, applications, and settings. Options that keep personal files or only reinstall system components are intended for troubleshooting, not disposal. On a computer, confirm whether the reset offers a drive-cleaning or secure erase choice intended for sale or recycling.
Do not improvise with repeated file deletion, random disk utilities, or old advice written for a different storage technology. Hard drives and solid-state drives handle erasure differently. Storage hidden behind wear leveling or device encryption may not respond to simple overwrite methods as expected. For sensitive data, follow the device maker's secure erase guidance or an approved media-sanitization standard.
Keep the device connected to power. Do not interrupt the process because the screen goes dark or the device restarts several times. If the reset fails, stop and determine why rather than assuming a partially completed erase is sufficient.
Verify the Device Before It Leaves
After the reset, power on the device and confirm it reaches the initial setup screen. Do not create a new personal account or restore your backup. The goal is to see the same first-run state a new owner should receive.
Check that:
- Your name, account, files, photos, and applications are not visible.
- The device does not request your account password or old screen lock.
- Removed SIM and memory card slots are empty.
- The serial number matches the trade-in or sale record.
- The device is no longer listed as an active trusted session where appropriate.
Record the serial number, destination, and handoff date before shipping or transfer. For business equipment, keep any required erase report or recycler certificate with the asset record.
Handle Broken Devices More Carefully
A device that will not power on, unlock, charge, or complete a reset needs a different plan. Its storage may still contain readable data even when the rest of the device appears dead.
If remote erase was enabled, request it through the account's official device-management service, but remember that the command may not run until the device connects again. Remove the device from active sessions only after considering whether doing so will cancel a pending remote action.
Use the manufacturer, employer, or a reputable recycler that offers data destruction. If a computer has a removable drive and you are qualified to remove it safely, the drive can be handled separately. Do not open swollen, damaged, hot, or punctured battery-powered devices. Battery safety takes priority, and a recycler equipped for damaged electronics is the better destination.
This is one reason device retirement belongs in regular endpoint security practices, not as an improvised cleanup after hardware fails.
A Secure Device Disposal Checklist
Before the device leaves your control:
- Choose whether it will be sold, donated, traded in, returned, or recycled.
- Back up important data and verify the backup from another device.
- Move authentication, passkeys, recovery codes, and trusted-device access.
- Sign out and remove activation locks according to current manufacturer guidance.
- Remove SIM cards, memory cards, security keys, receivers, and external storage.
- Use the supported option that erases all content and settings.
- Confirm the device reaches its initial setup screen without your credentials.
- Record the serial number, destination, and handoff date.
- Use approved destruction for sensitive or inaccessible storage.
The Bottom Line
Secure disposal is not a single delete button. It is a controlled handoff that protects your data while leaving the device genuinely ready for its next destination.
Back up and test first. Move the sign-in methods that depend on the old device. Remove accounts and removable media, run the supported full erase, then verify the result before the device leaves your possession. If you cannot erase sensitive storage with confidence, keep control of the device and use a service that can document its destruction.